Spark your child’s creativity with a nature-inspired craft. This simple, hands-on project will allow your child to connect with nature as they explore the outdoors and create a beautiful, glowing lantern. Follow the easy instructions below!
Materials:
☐ Light-colored tissue paper (white, tan, pastel yellow)
☐ Elmer’s Glue-All
☐ Water
☐ 1 regular-sized balloon per lantern
☐ 2-inch paintbrush
☐ Container (takeout container or Tupperware)
☐ 1 flameless tea light per lantern
☐ 8-10 leaves
☐ String (optional)
☐Hole puncher (optional)
Instructions:
Step 1:
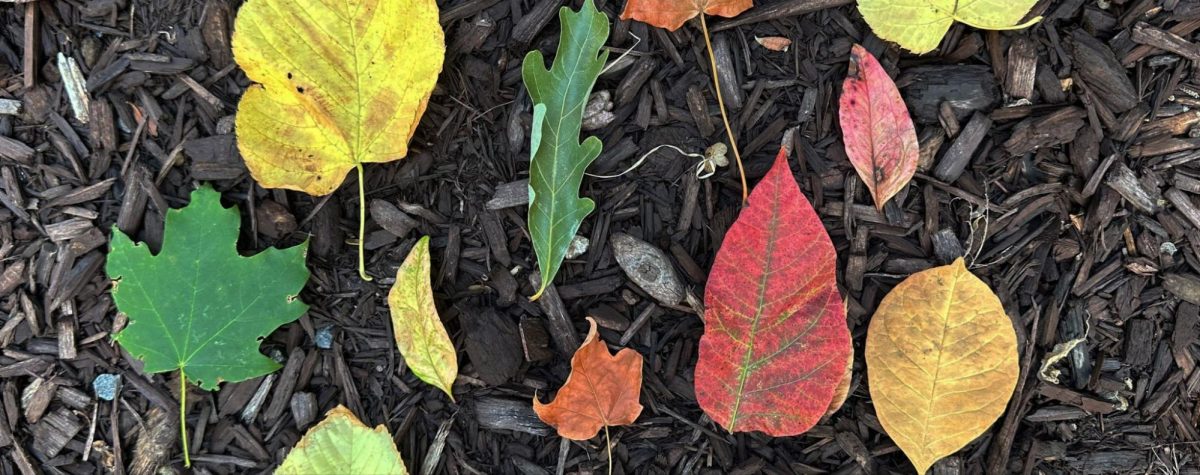
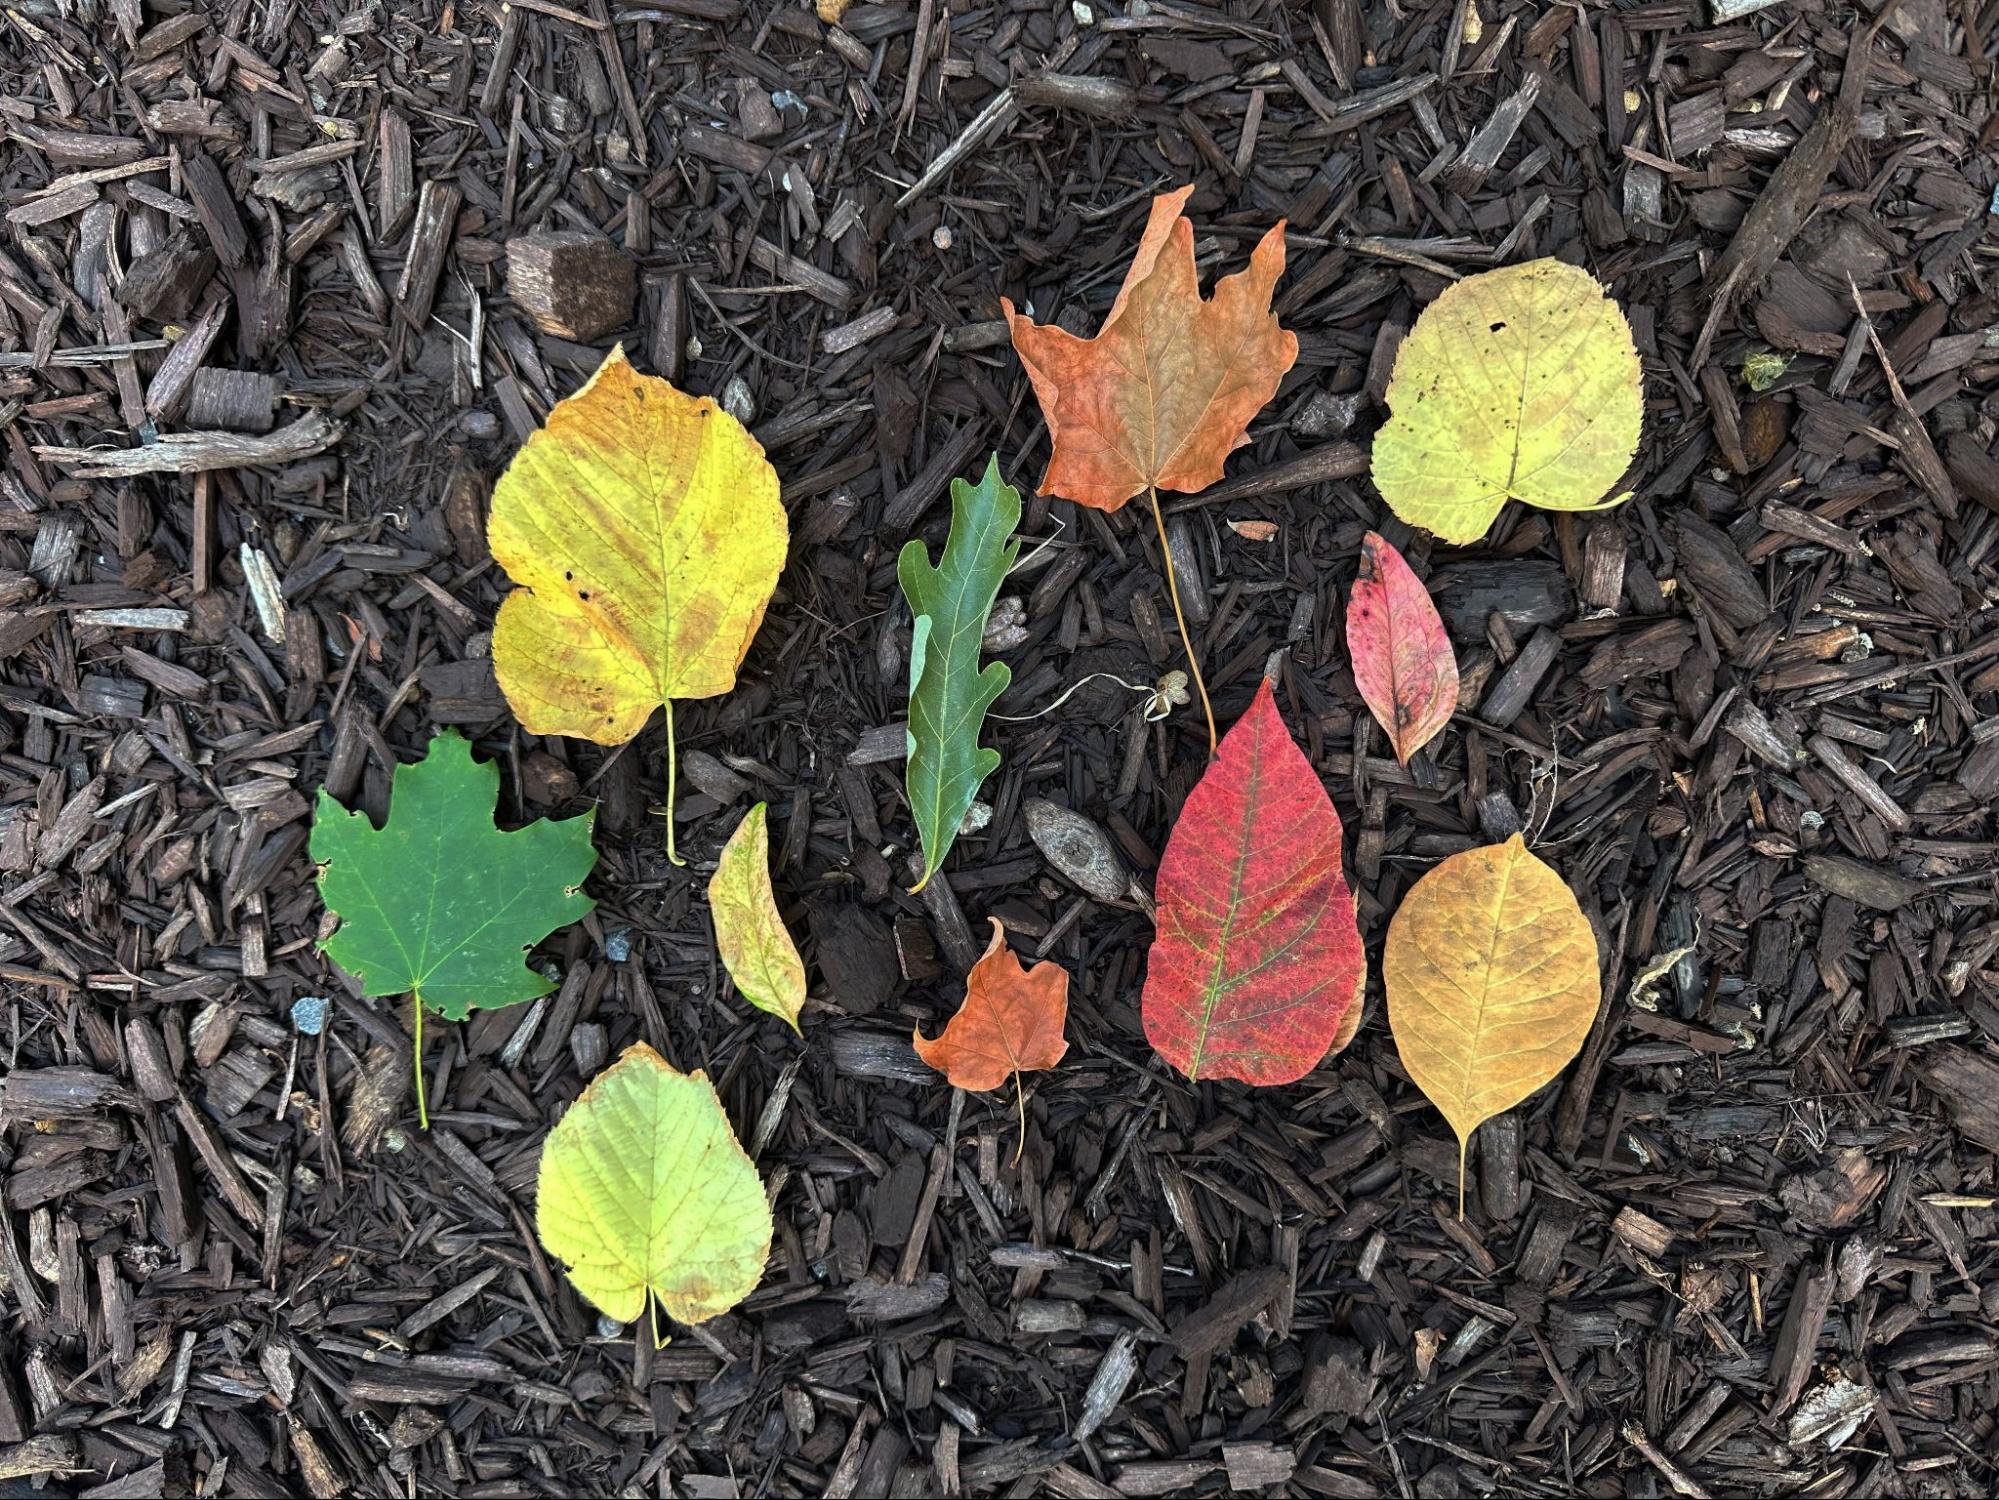
Head outside with your child and collect 8-10 leaves of different colors, shapes, and sizes. These will be used to create a beautiful pattern on your lantern!
Step 2:
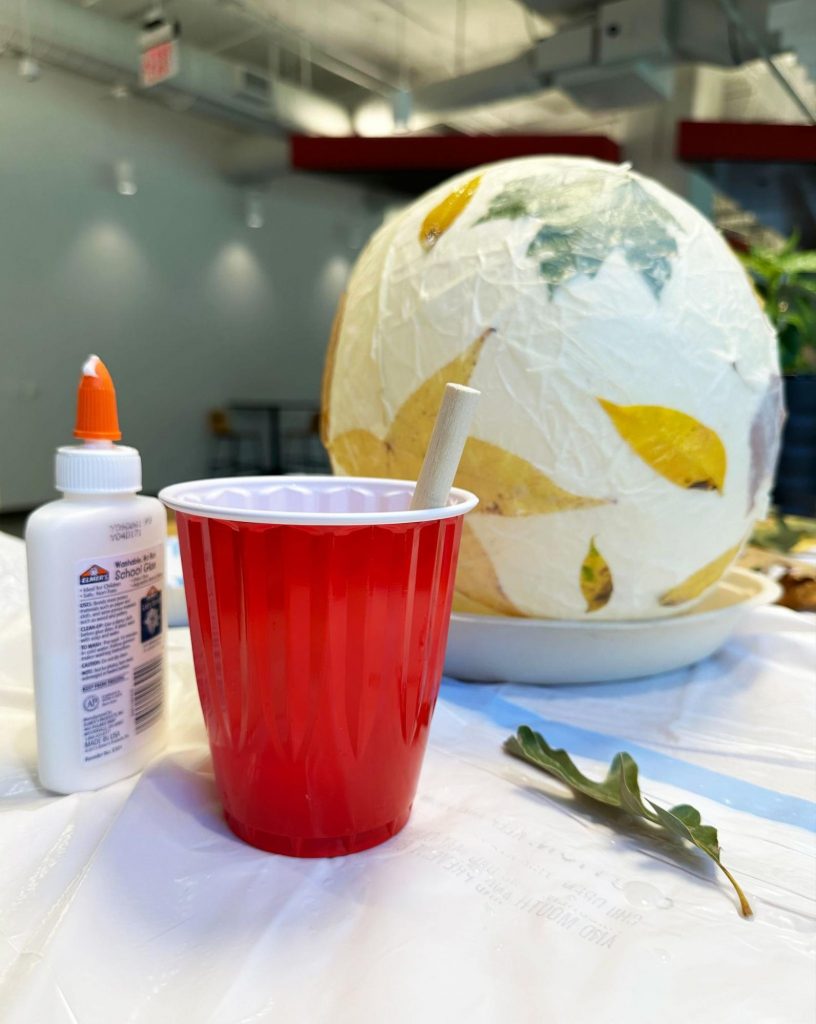
Prepare your lantern-making station. You will need something to cover your workspace, like a trash bag or sheet. Gather a container, balloon, paintbrush, tissue paper, glue, and a bowl of water. Mix half of the bottle of Elmer’s Glue-All into a bowl with equal parts water; this will be your glue mixture!
Step 3:
Cut your tissue paper into large, square pieces. Your balloon size (we recommend a regular size) will determine how big your square pieces should be, but the larger the squares, the better.
Step 4:
Blow up your balloon and stand it upright in your Tupperware or container. Dip a piece of tissue paper into the water and place it on the balloon, leaving enough space around the balloon tie for your flameless tea light. Repeat until the balloon is evenly covered in a layer of tissue paper. Using only water for the first layer allows the balloon to peel away from the paper easily.
Step 5:
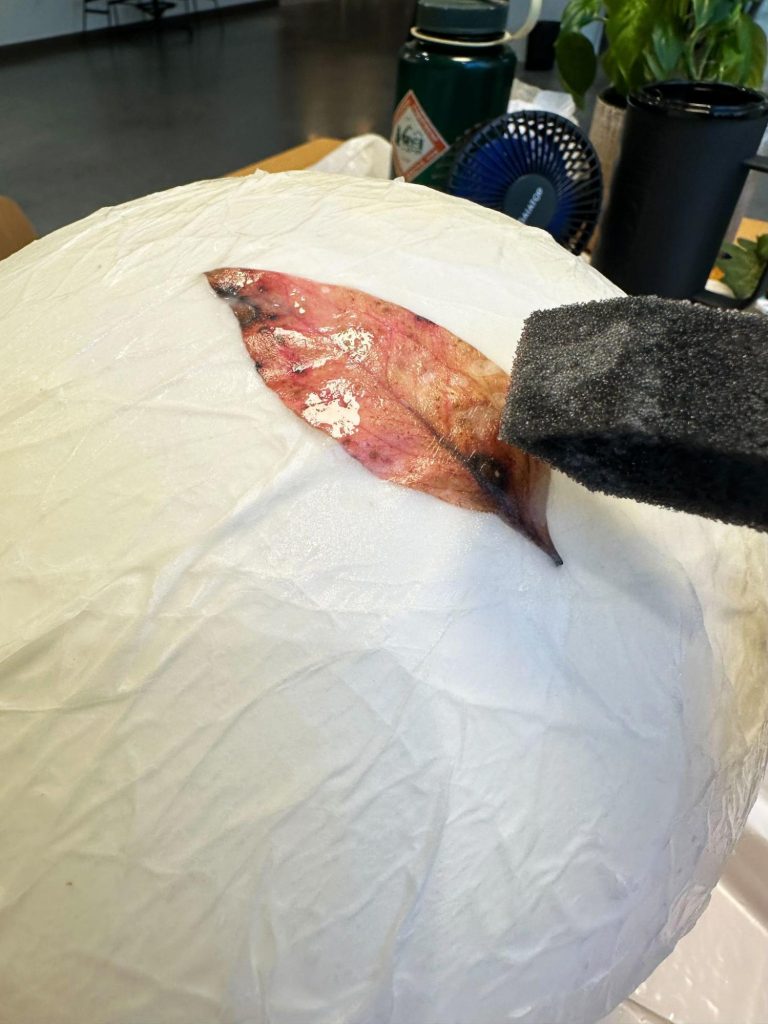
Next, with the paintbrush, paint your glue mixture onto a section of the balloon and add a layer of tissue on top, repeating until the balloon is covered with two layers of tissue.
Step 6:
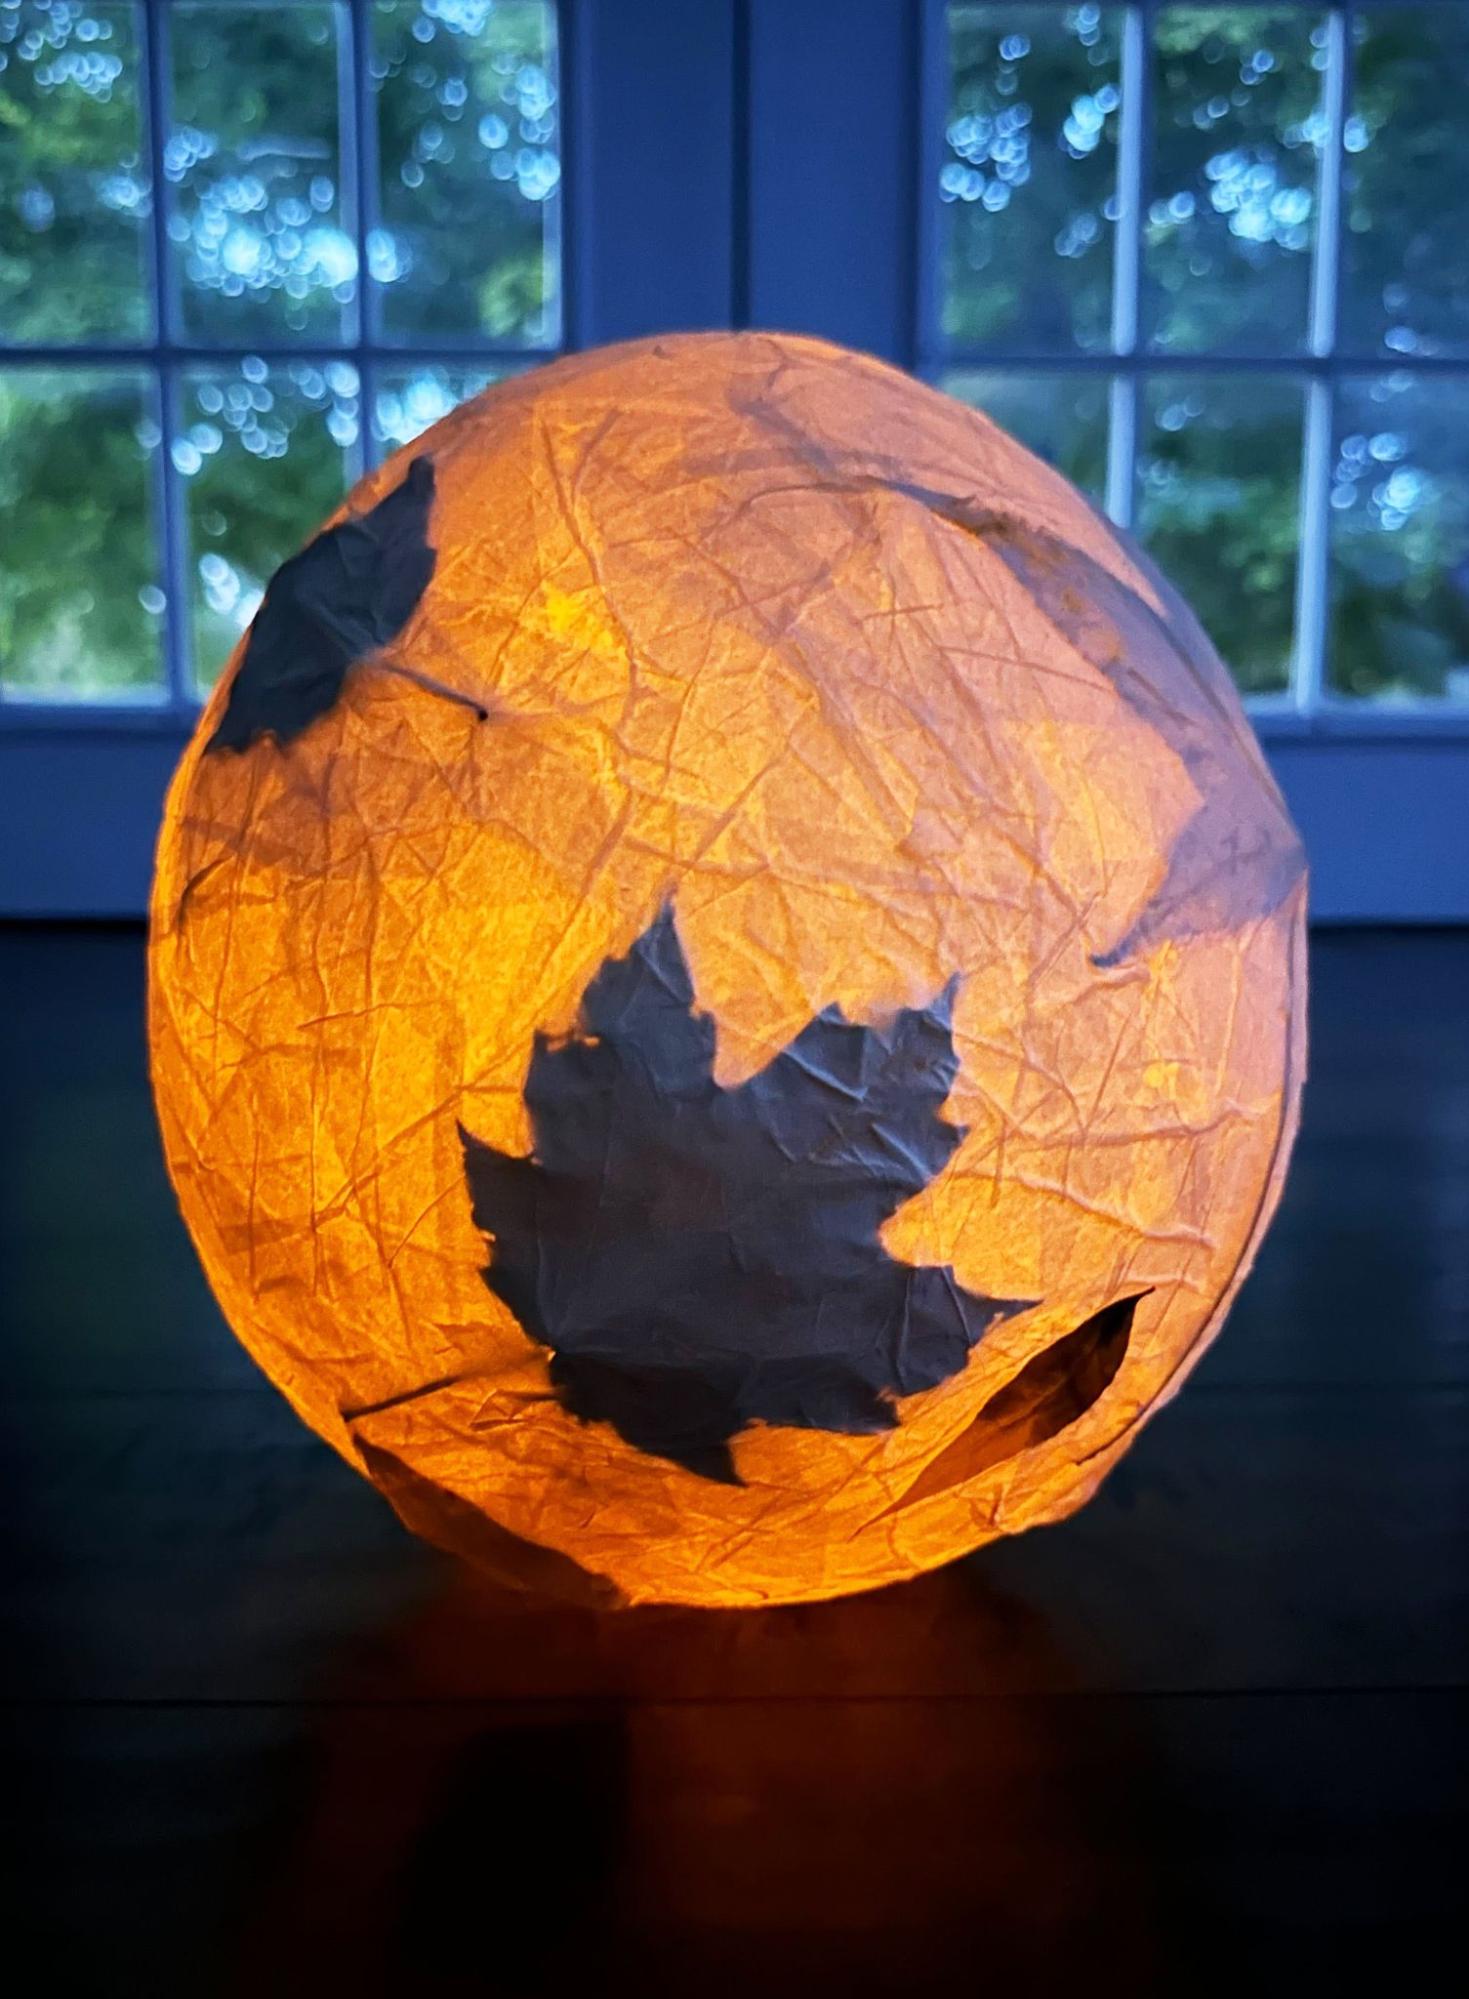
After gluing the second layer down, apply the glue mixture to the back side of the leaves and place them on the balloon wherever you’d like. Cover the whole balloon with two more layers of tissue paper.
Step 7:
Allow it to dry for 10-12 hours, turning it upside down halfway through the drying time.
Step 8:
Finally, pop the balloon using a sharp knife. Flip your lantern so that the top is now the bottom, and place a flameless tea light inside to illuminate it. Want to hang it up? Just punch two holes in the top of the lantern and tie string to it!
And there you have it—your beautiful leaf lantern is ready to shine! When the sun goes down, take it outside and watch it glow. This craft is a perfect way to celebrate the fall season and enjoy a fun and creative craft with your child!




Comments for Leaf Lantern Craft for Fall
Add A Comment
Your email address will not be published. Required fields are marked *